
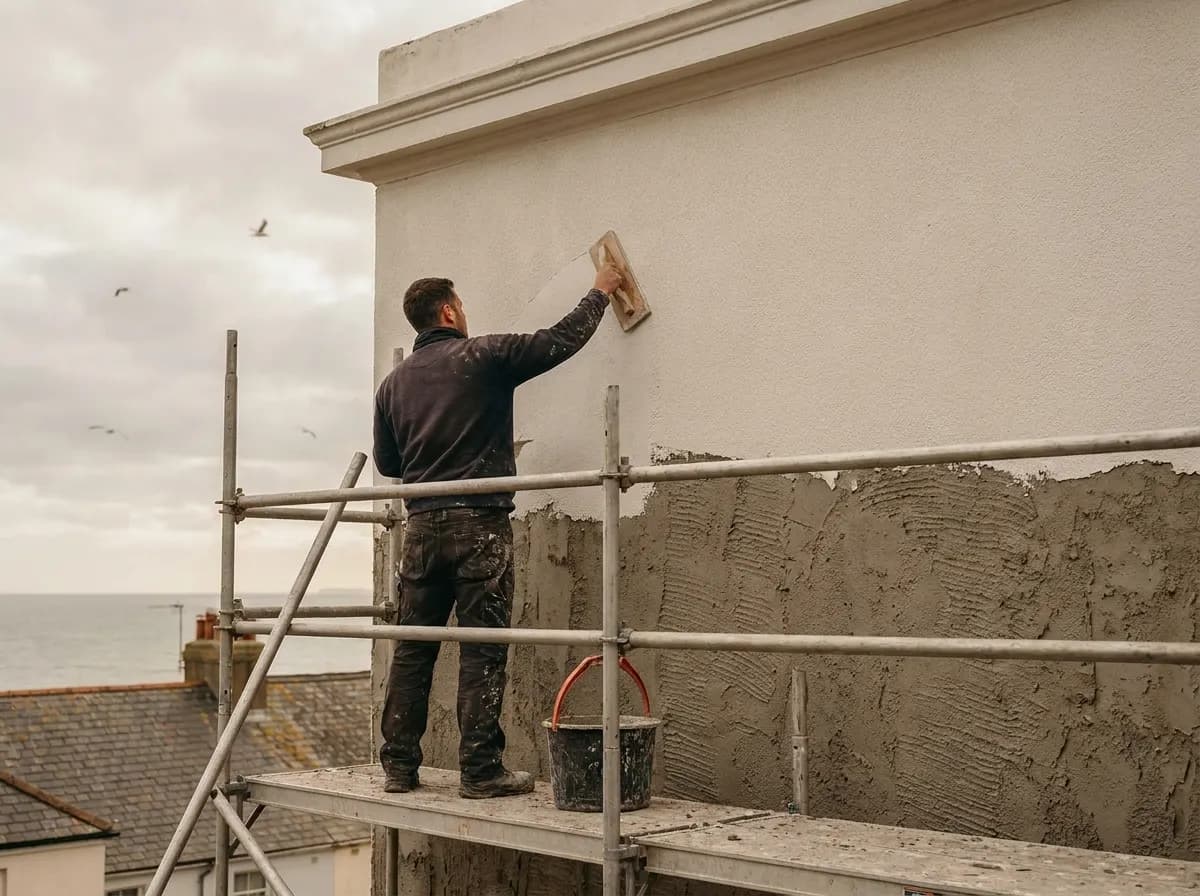
Rendering and Exterior Rendering
Exterior rendering specified for the wall and the weather it takes
Exterior rendering protects a building's walls from wind-driven rain and salt air while changing how it looks. The Brighton Plasterer applies traditional sand and cement, monocouche and through-coloured silicone renders across the Sussex coast, specifying the system around the property's exposure, its background and whether the wall needs to breathe.
What the work covers
Rendering on the Sussex coast is a different job to rendering twenty miles inland. Salt-laden air, sideways rain off the Channel and long spells of damp all attack a wall in ways a sheltered site never sees, and a render that would last decades in a valley can craze and blow within a few years on an exposed seafront elevation.
That is why James specifies the system to the property rather than fitting every job to one product. A solid Victorian wall that needs to breathe is a poor candidate for a dense cement render. A modern block build on an exposed corner is a strong candidate for a through-coloured silicone system that sheds water and keeps its colour without repainting. Monocouche sits between the two and suits a lot of Sussex housing stock well.
Detailing is what makes render last. Bellcast beads at the base so water throws clear rather than tracking back, proper stop beads at openings, movement joints where the background changes, and a scratch coat that is fully cured before the top coat goes anywhere near it. Skipping any of those is how you get the cracked, streaked renders you see all along the coast road.
- Full re-render
- Old failed render taken off, the background made good, then a new system applied with the beads and joints detailed so water throws clear of the wall.
- Through coloured systems
- Monocouche and silicone renders that carry their colour through the material, so the wall is not committed to a repainting cycle every few years.
- Traditional sand and cement
- Floated, sponged or pebbledashed finishes where the background and the building suit a traditional specification.
- Repairs and crack stitching
- Cracked, blown or patchily failed render cut out, stitched where movement caused it, and made good to match the surrounding finish as closely as it can be.
Problems this is the answer to
- Render that sounds hollow across a whole panel and has started to fall away at the edges
- Cracks running diagonally from window corners or in a straight line across an elevation
- Green and black staining down one elevation that returns within months of cleaning
- Painted render that needs redoing every few years and never quite covers
- Damp inside on the same wall that takes the weather outside
- A mismatched patch where a previous repair was done in the wrong material
Included as standard
- Through-coloured silicone and monocouche render, no repainting needed
- Traditional sand and cement render, floated, sponged or pebbledashed
- Render repairs, crack stitching and patching to match existing
- Coastal detailing: bellcast beads, movement joints, proper reveals
- Full scaffold arranged and coordinated as part of the job
Before a price is given
How the job gets worked out
- 01
Tap the existing render across the elevation. Hollow panels have debonded and will not hold a new coat applied over them.
- 02
Identify the background. Solid brick, block, flint, bungaroosh and older lime render all take different specifications.
- 03
Check whether the wall needs to breathe. A solid period wall sealed under dense cement traps moisture and pushes it inside.
- 04
Look at the exposure. A seafront or clifftop elevation takes salt and driving rain that a sheltered rear wall never sees.
- 05
Check the details above and below: copings, sills, verges and the base of the wall. Most render fails because water got behind it, not because the mix was wrong.
The job, in order
Nothing here is a surprise on the day. You get told which stage you are at, what happens next and what has to dry before anything else can start.
Before James arrives
- Clear the working area at the base of the wall so scaffold can be put up safely and the ground can be protected.
- Cut back planting and move anything fragile away from the elevation before scaffold arrives.
- Deal with roofing, guttering, sills and window replacements first. Render is the last thing on and should not be cut about afterwards.
- Check whether the property is listed or in a conservation area before choosing a finish, because that can decide the specification.
- Agree the colour on a sample panel in daylight rather than from a chart, because through coloured render cannot be adjusted afterwards.
01Assess and strip
Failed render removed back to a sound background, the masonry inspected, and any repointing or repair done before a new coat is considered.
02Scaffold and beads
Scaffold arranged and coordinated, then bellcast beads at the base, stop beads at openings and movement joints set where the background changes.
03Base coat and cure
The scratch or base coat applied, keyed and left to cure properly. Rushing this stage is the single most common cause of a render that crazes later.
04Top coat and finish
The finish applied and worked to the chosen texture, edges and reveals cut in, then the scaffold struck and the ground cleared.
Materials and systems
What gets specified, and when
- Silicone render
- A through coloured, water repellent and vapour open finish. It sheds driving rain and resists staining well, which is why it suits exposed coastal elevations.
- Monocouche
- A one coat through coloured render applied in two passes and scraped back to an even texture. A good general purpose choice on sound block and brick backgrounds.
- Sand and cement
- The traditional specification, floated, sponged or dashed. Strong and repairable, but it is a paint finish and it is too dense for a wall that needs to breathe.
- Lime render
- Soft, breathable and the correct answer on historic solid walls, flint and bungaroosh. Slower to apply and to cure, and it lets the wall dry outwards as it was built to.
- Beads and movement joints
- Bellcast at the base to throw water clear, stop beads at reveals, angle beads at corners and movement joints where the background or the plane changes. This detailing is what makes render last.
Property types
- Seafront and clifftop houses taking direct salt spray
- 1930s semis with tired painted pebbledash
- Solid walled Victorian and Regency properties needing a breathable specification
- Modern block built houses and extensions
- Flint and rubble walls in the older village cores
- Rear extensions and garden walls where new render has to meet old
How long it takes
- Scaffold
- Usually up a day or two before work starts and struck a few days after the last coat, so the wall is protected while it cures.
- Strip and prepare
- One to three days for a typical elevation, longer where the background needs repointing or where an old render is well stuck and has to be worked off.
- Base coat curing
- Several days before the top coat goes near it, and longer in cold or very wet spells. This wait is not padding, it is what stops the finish crazing.
- Whole house
- Commonly two to three weeks end to end including scaffold, and weather dependent. Render cannot go on in frost, in driving rain or in full summer heat on a south wall.
Straight answers
When rendering is not the right answer
A solid period wall that has to breathe should not be sealed under a dense cement render. Lime or a vapour open system is the right answer.
Render will not cure damp coming from a failed gutter, a bridged damp course or a leaking roof. Those come first.
A background that is loose or needs repointing has to be repaired before render goes on, or the new coat fails with it.
On a listed facade, changing the render finish can need consent, so that is checked before anything is agreed.
Where it gets done
Rendering town by town
Each page below covers rendering in that town specifically: the buildings that are there, what tends to go wrong in them and what the job actually involves locally.
The other two things James does
Rendering and Exterior Rendering
Rendering questions, answered
The things people ask before booking rendering, answered properly rather than in one line.
How long does exterior render last?
A correctly specified and correctly detailed render on a sound background lasts for decades. Most of the failures you see along the Sussex coast come from missing bellcast beads, no movement joints or a coat applied over something that was already loose.
Does silicone render need painting?
No. The colour runs through the material rather than sitting on the surface, so there is no repainting cycle. It can be cleaned down if it picks up organic growth on a shaded elevation.
What is the difference between monocouche and silicone render?
Monocouche is a cement based one coat system scraped back to texture, and it suits sound block and brick. Silicone render is a thin coat system over a reinforced base, more flexible and more water repellent, which is why it is often specified on exposed walls.
Can you render over existing render?
Only where the existing coat is genuinely sound across the whole elevation, which is less often than people hope. Anything hollow has to come off, because a new finish over a debonded panel fails with the panel underneath it.
Will rendering stop damp coming through my wall?
It will stop wind driven rain soaking a porous wall, which is a real cause of internal damp on exposed elevations. It will not touch rising damp, condensation or a leak from above, and it is worth being clear which one you have first.
Do I need scaffold for rendering?
For anything above ground floor, yes. Render has to be applied and worked in continuous runs, and towers do not allow that. Scaffold is arranged and coordinated as part of the job rather than left to you.
Can render be applied in winter?
Not in frost, and not when frost is forecast overnight while the coat is still green. Cold, damp spells also extend curing times, so winter work is planned around the forecast rather than pushed through it.
Why has my render cracked?
Fine crazing usually means the coat dried too fast or went on over a base that had not cured. Straight or diagonal cracks in a consistent line usually mean movement in the background, and stitching or a movement joint is the fix rather than filler.
Do I need planning permission to render my house?
Usually not for a straightforward re-render of an unlisted house outside a conservation area, though changing the external appearance can matter in a designated area. Listed buildings are different and consent should be checked before work is agreed.
Can you match a repair into existing render?
A repair can be matched closely in texture, but an exact colour match on weathered render is rarely achievable. Where the difference would be obvious, the honest recommendation is often to do the whole elevation rather than leave a visible patch.
Need rendering doing?
Describe the job and James will tell you what it actually wants, with a written price before anything starts. Covering 10 towns across Sussex.